
Getting Started
Note
The User Application must be built from sources from the following repository: https://github.com/proximax-storage/cpp-xpx-storage-user-app. Build instructions are available in the README.md file. Currently supported platforms are Linux and MacOS.
First Launch
Logging In
When you launch the User Application for the first time, you will be prompted to log in into an account:
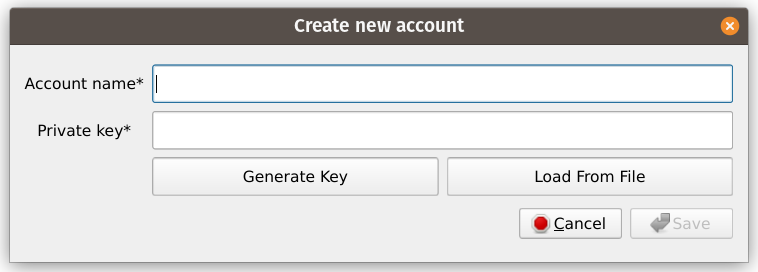
To proceed, you must fill in both fields.
Account nameis a human-readable name of the account. The User Application will let you store and switch between multiple accounts, and these names will be used to differentiate between them. The name must be no longer than 40 characters and may only contain alphanumericals and underscores (A–Z,a–z,0–9, and_).Private keyis a private 32-byte key of the account.- If you have an existing account, you can manually paste its private key in hexadecimal format in this field. Alternatively, you can load the key from a binary file using the Load From File button, which will fill in this field automatically. The key should look like this:
5af109f82c2f48f48236855651816f2911f8ff74ca954bb79fc48359274763f7(both lower-case and upper-case digitsa-fare supported). - If you do not have an account, you can click Generate Key button to generate a new key. It will immediately appear in the
Private keyfield.
- If you have an existing account, you can manually paste its private key in hexadecimal format in this field. Alternatively, you can load the key from a binary file using the Load From File button, which will fill in this field automatically. The key should look like this:
Click Save when you are ready. This will bring you to the Settings window.
Configuring Network Settings
After creating and saving your first account, you will be prompted to fill in network-related settings to complete the setup. All of the fields in this window are required, but some of them already have default values filled in.
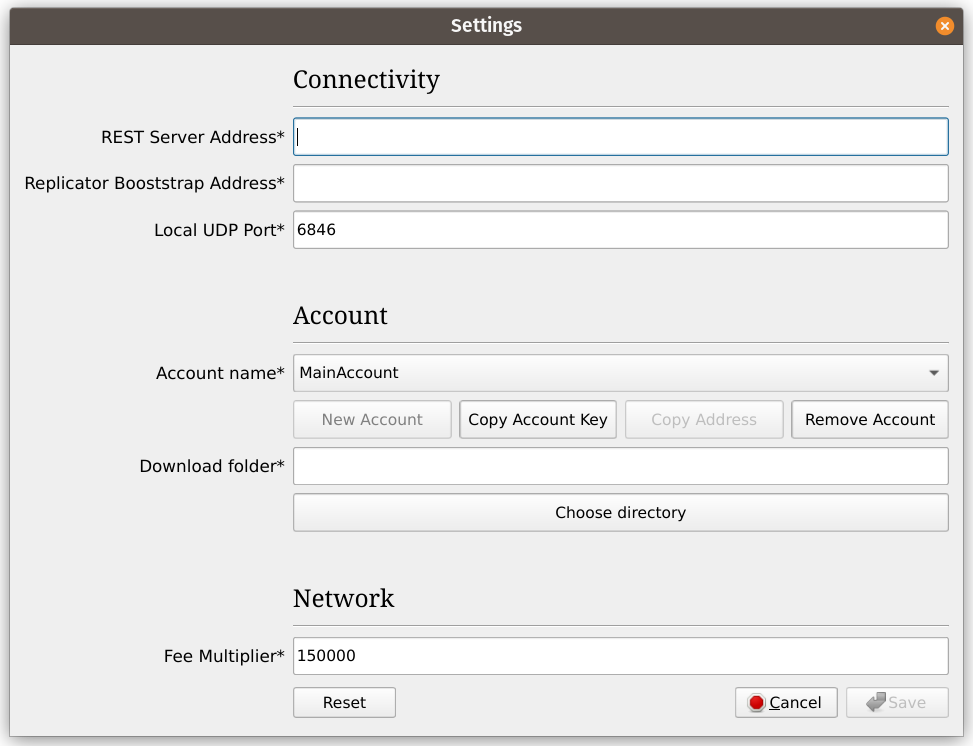
REST Server AddressandReplicator Booststrap Addressare, respectively, IP addresses, together with ports, of the REST server and any of the bootstrap replicators of the network you want to connect to. They must be in the following format:18.142.186.205:3000.Account nameis your current account. At this point you only have one account, which you created at the previous stage, but after completing the setup you will be able to create other accounts and switch between them in this drop-down list.- Copy Account Key button copies a public key of the selected account to the clipboard.
Download folderis a directory where the files will be downloaded via the Download Tab of the application. It is preferable (though not required) to select an empty directory for this.
Note
Local UDP Port and Fee Multiplier fields should be left at their default values.
When you are ready, click Save to complete the setup and proceed to the main window of the User Application.
User Interface Overview
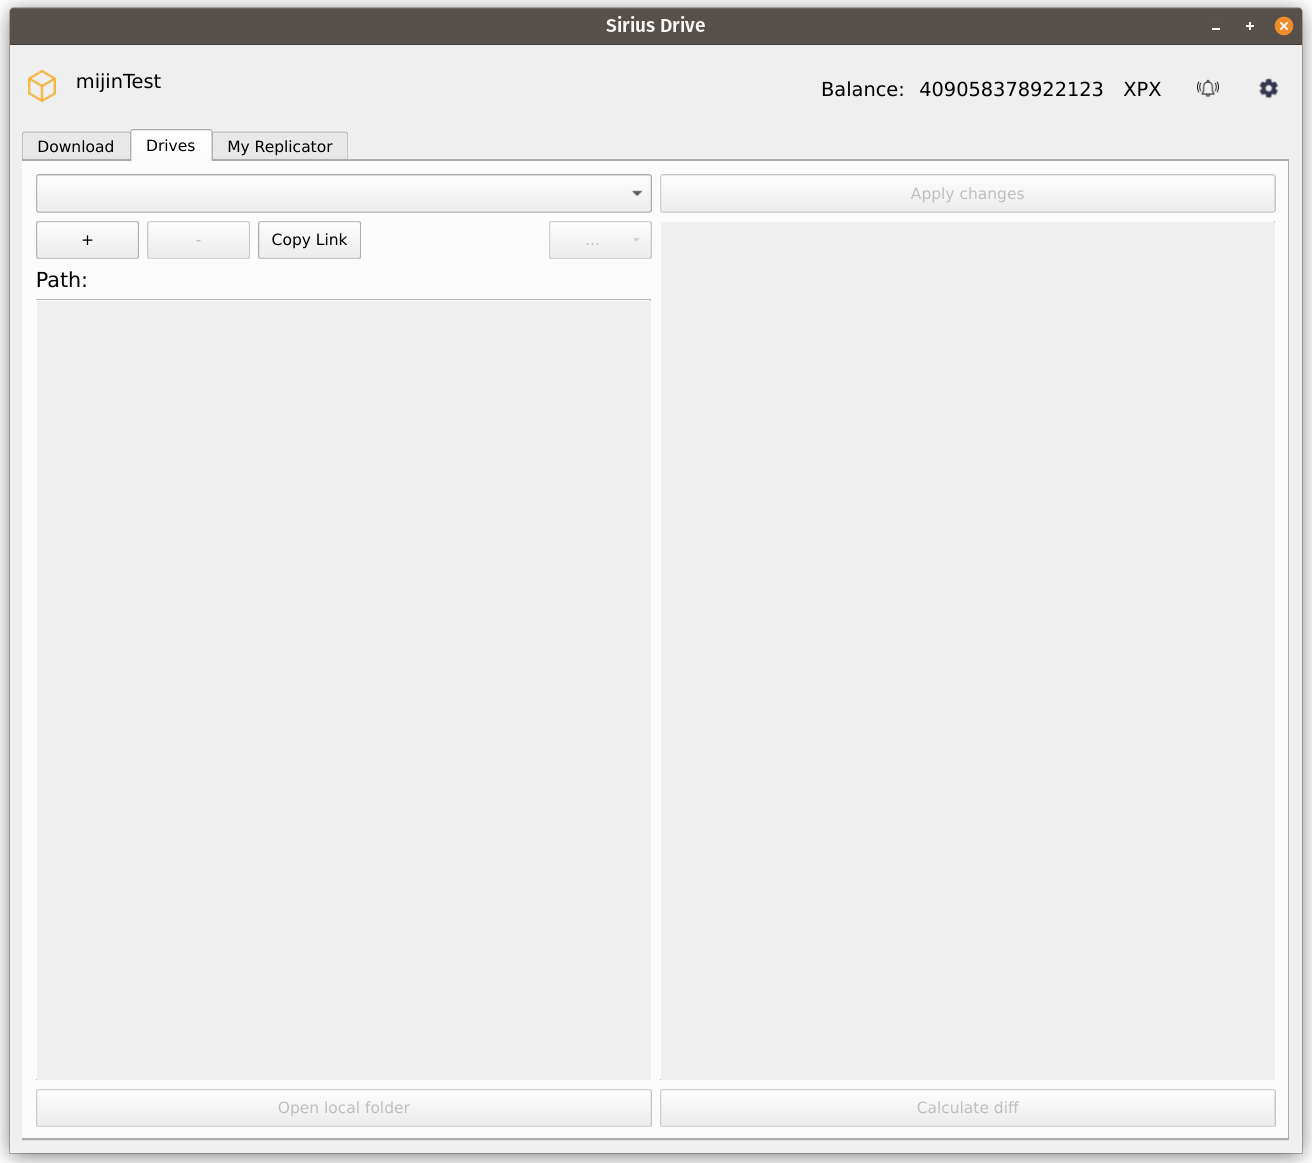
The main window of the User Application has three tabs dedicated to managing your Downloads, Drives, and your own Replicator, which do not contain anything useful at this moment:
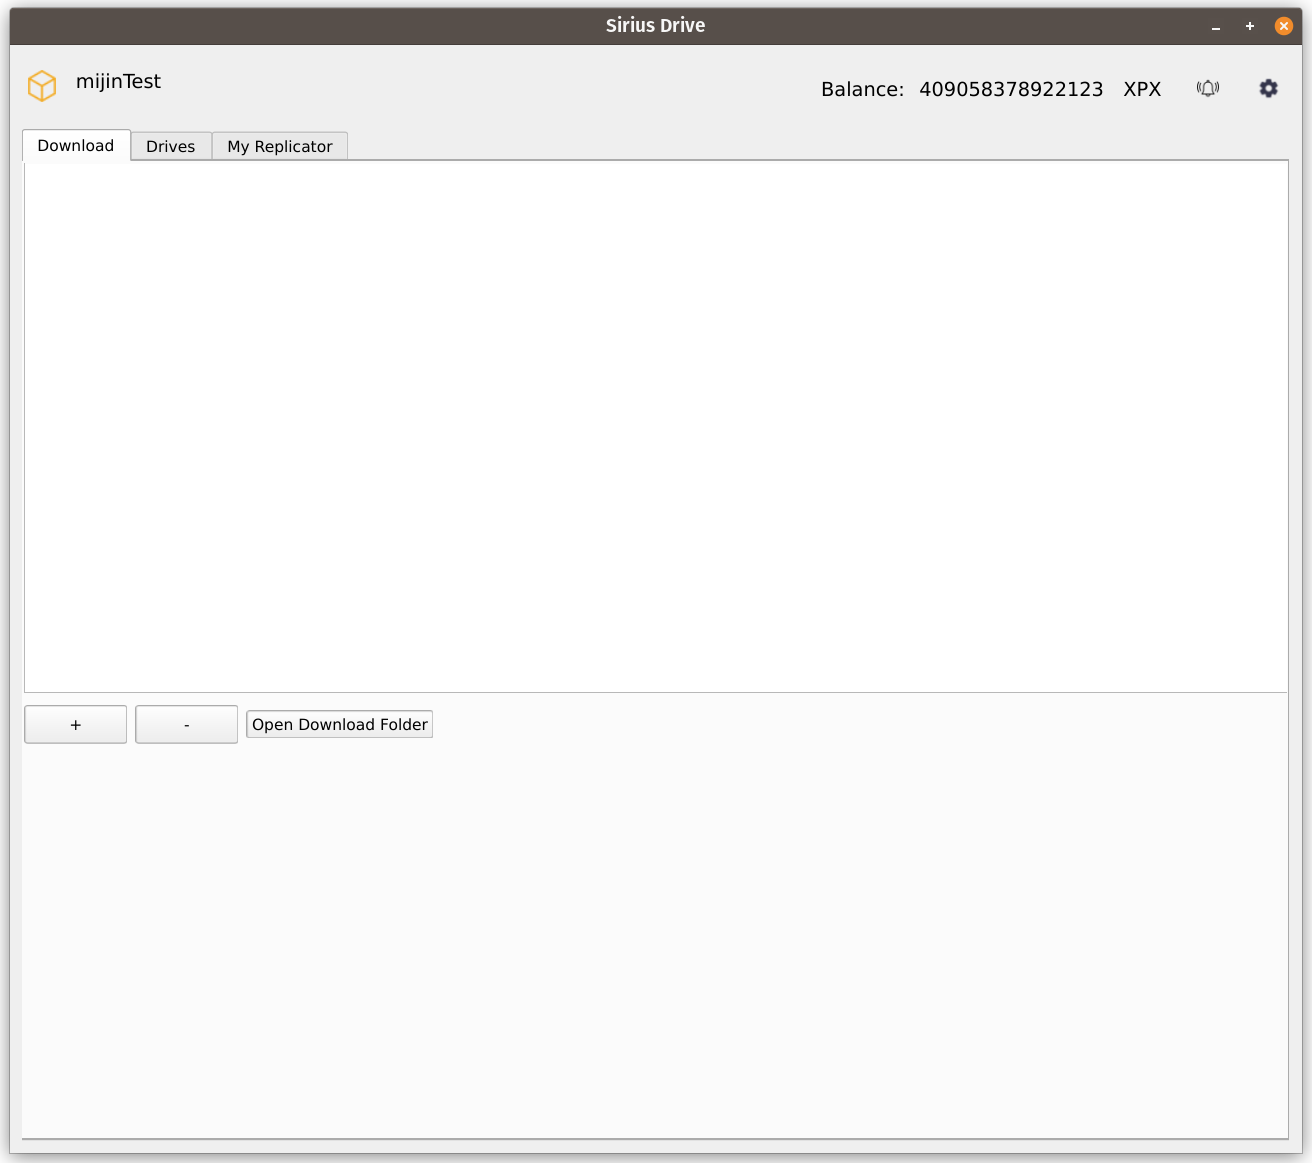
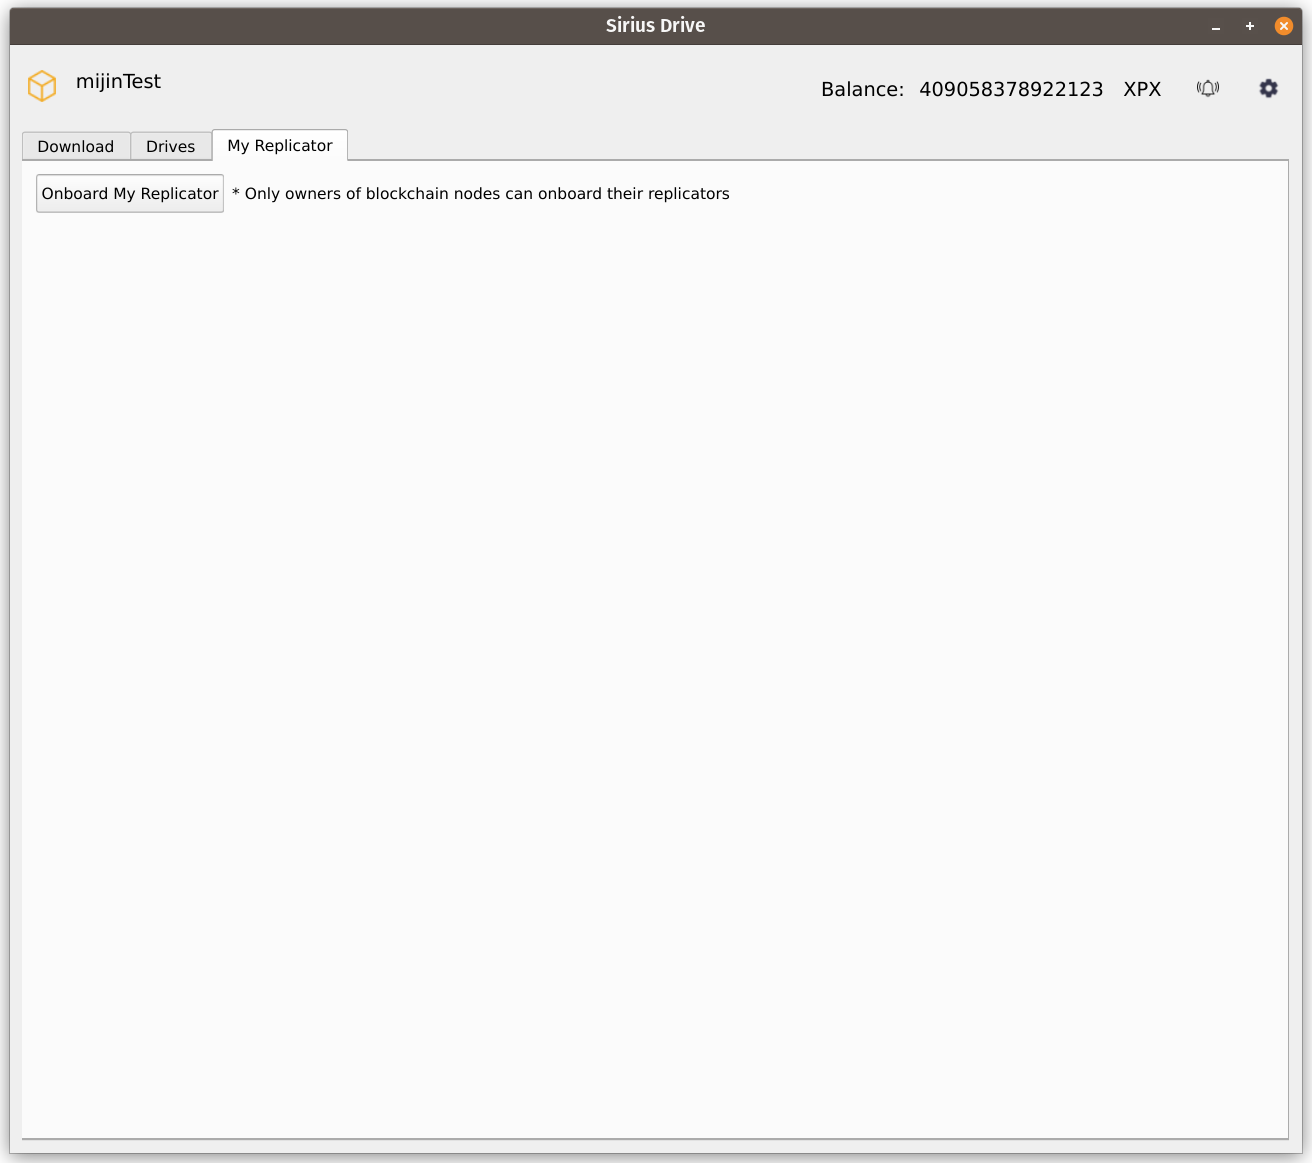
Regardless of the currently opened tab, the upper part of the window contains information about the network you are currently connected to (in the upper left corner, mijinTest in this example) and your current account balance (in the upper right corner).
Additionally, there are two buttons in the upper right corner: Notifications (bell icon) and Settings (gear icon).
Clicking Notifications icon shows a list of all notifications that the User Application has received during this session.
Clicking Settings icon opens up the Settings window. Now, unlike the first launch, New Account button will be active, allowing you to add other accounts. This is done by using the same dialog as during the initial setup. To switch between accounts, use the drop-down menu and select an account you want to switch to. Please note that after making any changes in the settings (including switching accounts) the application will automatically restart.